Friday, December 21, 2012

My Little Pony


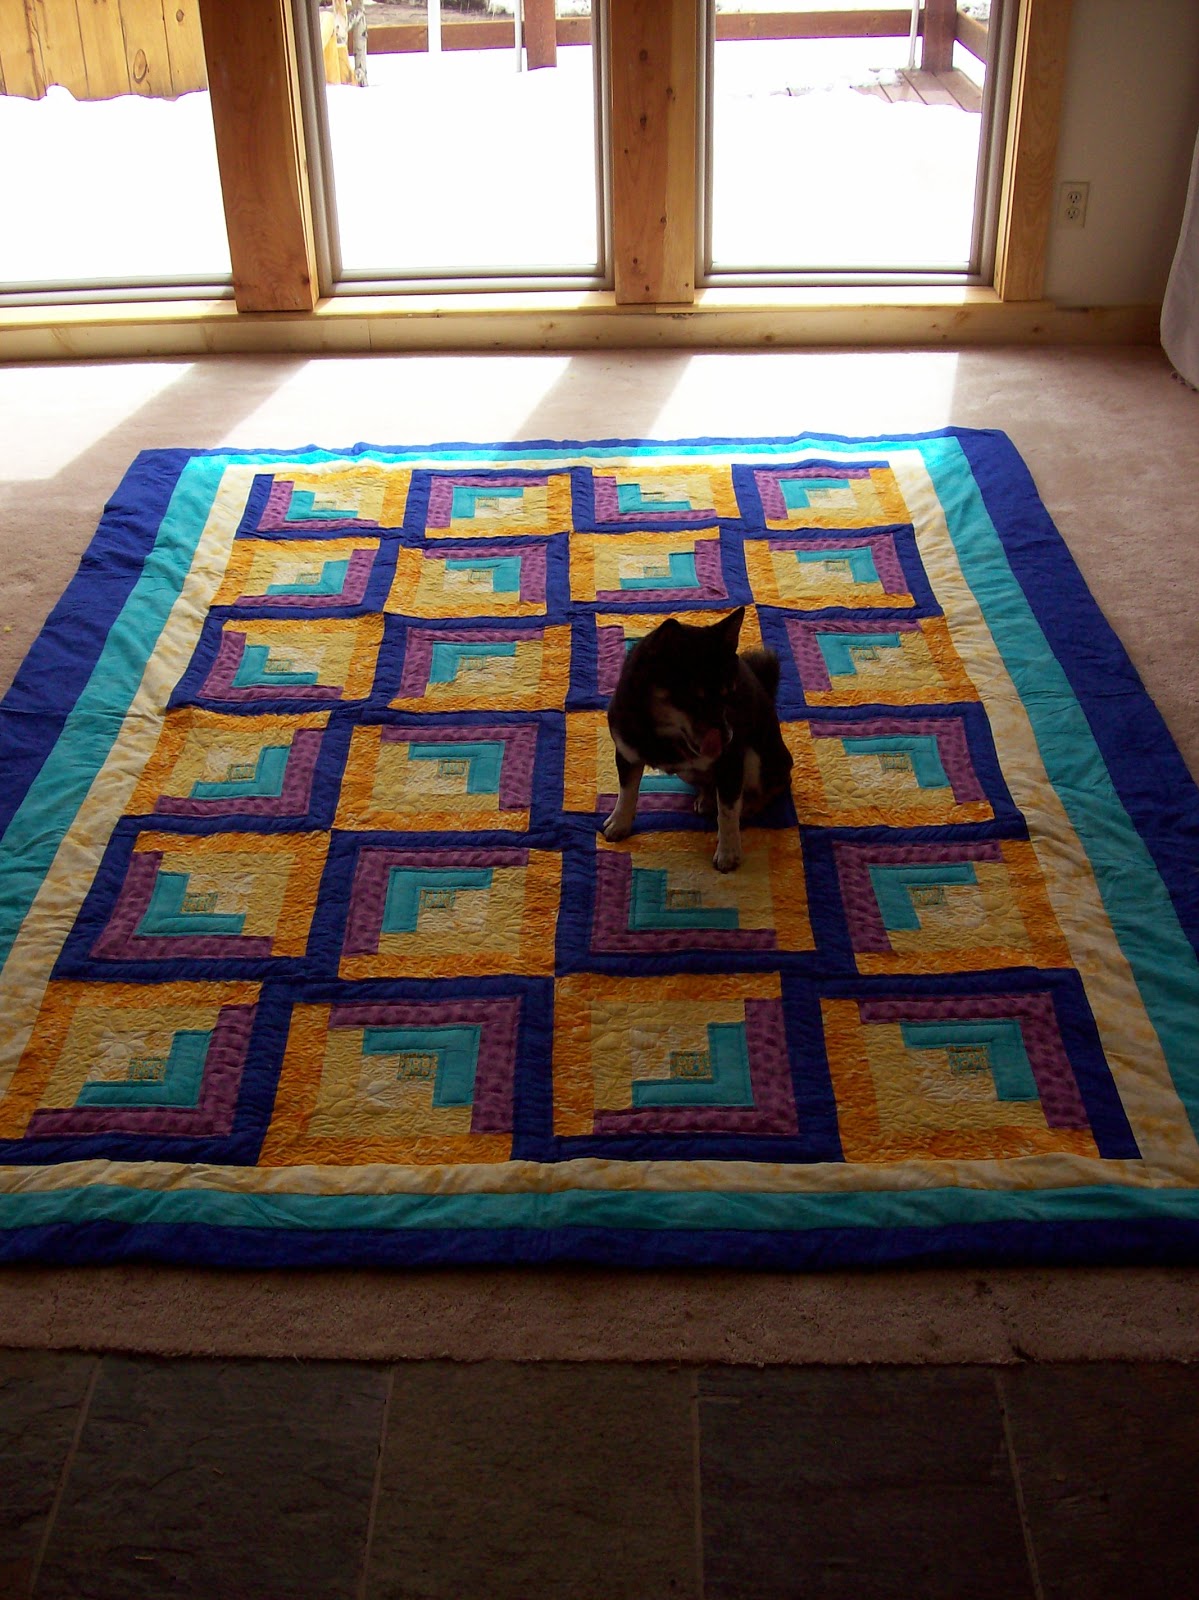
Here is another commissioned quilt.  My brother wanted it for his little girl (she is a 2 year old Shiba Inu, so the fluffy kind of kid). Again, this is a licensed (copyrighted) fabric, so I only make quilts of this nature for gifts or on commission. I am a quilter, not a "My Little Pony" dealer. :)


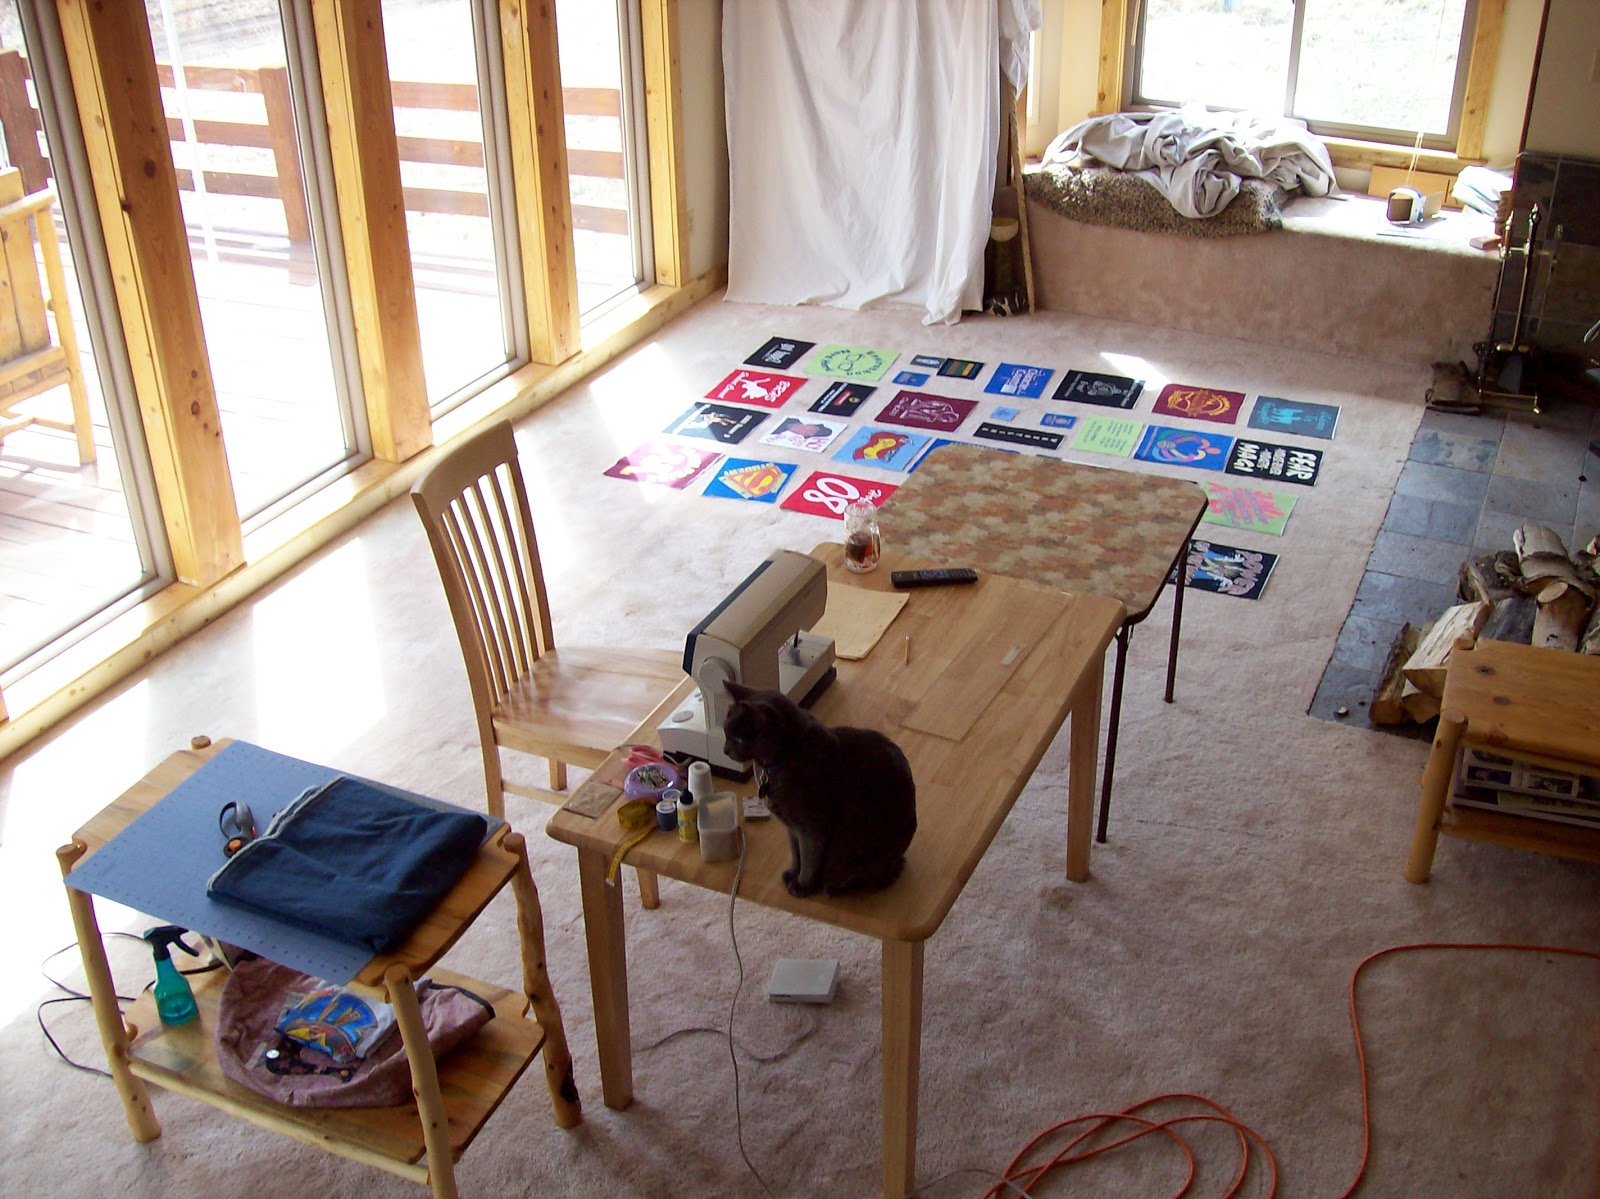
I love my kitties, but all too often, they like to help.  This is what happens when I take a break and go to the bathroom.


My brother prefers quilted rather than tied quilts. With a doggie blanket, this is especially important; they have a tendency to chew off the ties. With this particular quilt pattern, I normally prefer to do a diamond in square quilting on all the blocks. But this time, I thought it wouldn't look very good.  I was not able to completely center the fussy-cut ponies because I didn't have enough fabric. I didn't want to quilt through the ponies.  It would cause them to look even further off center. My solution was to follow the center purple block in more of a plaid design.


Right before I went around the final edge,  I noticed that my thread was really low.  This is the equivalent of a thriller/suspense movie for a quilter... Would I make it? Would I have to run to the store to finish my quilt? What if I almost make it and it looks bad when I switch to the new thread? What if the store doesn't have the right color thread anymore? (When did I buy this spool? Was it five years ago or ten?) Then my bobbin thread runs out. Fortunately, I am using purple on the bottom, so I reloaded my bobbin and continued. Toward the end I held my breath. Two feet... one foot... eight inches... and done.


Made it by the skin of my teeth.  How exciting!

The final quilt. This is the pattern "Little Sailor's Dream." This is becoming one of my go-to quilt patterns. So often, people want a quilt that features something. This quilt pattern lets me put whatever that something is in an otherwise empty block and still do a pieced quilt. It also has a nice number of accent colors.  I really like the three tilted stripes. It's easy to do, but looks really fun.

(Little Sailor's Dream, 38"x 45", December 20, 2012)

Tuesday, December 18, 2012

Jewel Tone Quilt Part 2

 If this Jewel Tone quilt looks familiar, than you've been following me for a while.  This has been one of those projects that just sat and sat. I bought the fabric in 2002. I finished the top and started the stippling in 2006. Then it sat. I finally just finished the quilt this past May.


Why did it take so long? Because stippling a large quilt on a normal machine kinda sucks. On the plus side, I love the look, so it really was worth it in the end.


Hoshi photo bomb. She stays away until she can be in the way.  Then she jumps all over me and licks my face.

The final look.  I really like the pinwheel layout of the log cabin blocks. It makes a super cheerful quilt.

Monday, December 17, 2012

Retirement T-Shirt Quilt

This is the quilt that actually caused me to make the other T-shirt quilt. I owe both the commissions to my aunt, who suggested the idea to her office.

School Psychologists play a special role in public education. They work with the parents, students and teachers to help students grades pre-k to 12 with special needs. They go from school to school, testing students and helping create individual educational plans designed to tailor-fit each of the children they help. For this retirement, each school sent one t-shirt for the quilt as a reminder of all the schools and students he helped.


With so many t-shirts and so many colors, this quilt was much harder to arrange than the other t-shirt quilt. They requested education-themed fabric. Apparently, April is not the season for education-themed fabric. I really wanted the black and white chalk-board fabric I had seen a while ago, but I couldn't find it anywhere.  Even the internet failed me on this one. Instead, I went for a black fabric with rainbow letters and numbers.  It was a bit busier than I like, but it was truly my best option.


I hadn't originally planned on adding  a white border, but when I laid everything out, the quilt needed some separation between the letters and the cute school fabric. With all the colors shouting for attention, white was really the only solution. It adds a nice picture frame look to cap off the t-shirts.


I fussy-cut the final border and lined up the fabric with its repeat so I wouldn't cut any of the little motifs in half. I also planned the border so that the design was always right-side-up just in case this quilt ended up on a wall rather than a bed. I finished it off with white ties and a narrow band of the black backing fabric around the edge. Again, I was asked to make whatever size worked. It ended up fitting nicely on a king sized bed, though it did not have the extra pillow-tuck room.

I was pressed for time, and the quilt arrived in the mail on the day of his retirement party. I was told there was lots of oohing and aahing over the quilt, and Ralf was very touched at the thoughtfulness of his gift.

My first T-shirt quilt

It's always fun to try something new. When I worked at Jo Ann Fabric, I often helped customers pick out the correct materials to make a t-shirt quilt and explained the steps. I'd read about them and seen them, but I hadn't actually done one. My customers would often thank me for the help and show me the finished result (North Dakota is a friendly place like that). I always felt a bit like a sham for teaching about the quilt without actually having made one. Now I can say that I've done it, and it was more fun than I thought it would be.


The first step is cutting out the t-shirts. I started with a rough cut where I removed the sleeves and collar then cut the back of the shirt off. I started with the largest design and based the size of the blocks on its width.


Some of the sleeves had designs and some of the shirts had a small logo on the front of the shirt with a large logo on the back. I cut these designs so they had about an inch of fabric around the design.


 The next step was adding a stabilizer to the t-shirts. I used woven fusible interfacing because t-shirts are naturally stretchy. If they were not lined with a woven fusible interface, they would stretch and bunch, making the quilt look really bad, especially after washing it the first time.


Once I had all my blocks ready, I headed out to my dad's cabin in Westcliffe. He has a huge living room, and I love laying out quilts there. The natural sunlight is also great, so it's worth the two-hour drive to sew in a fun location. I arranged the blocks in four lines. All of the large blocks had the same width, so it was rather easy to make the lines work.  I did have to shuffle the blocks quite a bit to get them all the same length and avoid putting two similar colored t-shirts next to each other. I have to say, I got really lucky because I was able to get all the lines of blocks within half an inch of each other.


My sewing buddy Merlin made sure that I did it right.  He is a great supervisor, but he does sleep on the job quite often.


I used denim to tie all the colors together, because what better to put with a t-shirt quilt than jeans material? I also found a maroon home-spun fabric to use as an accent. Since this was a high school graduation gift, the school colors of maroon and gold were also very important.


When I asked what size to make the quilt, I was told to make it whatever size worked with the t-shirts. It ended up working out as an extra long queen. I like making extra long quilts so there is pillow-tuck room. I also thought it would be nice to have an extra long quilt for this very tall, soon to be college student. He could curl up from head to toe without a problem.


I don't own a long-arm quilting machine, so machine quilting  a quilt this large is problematic. I also think that the rustic fabrics mixed with the t-shirts would look better with a tied quilt. I used gold yarn as a little pop of color and a nod to his school colors. They were thrilled with the quilt, and I have to admit I was really happy with the final result.