
It's always fun to try something new. When I worked at Jo Ann Fabric, I often helped customers pick out the correct materials to make a t-shirt quilt and explained the steps. I'd read about them and seen them, but I hadn't actually done one. My customers would often thank me for the help and show me the finished result (North Dakota is a friendly place like that). I always felt a bit like a sham for teaching about the quilt without actually having made one. Now I can say that I've done it, and it was more fun than I thought it would be.

The first step is cutting out the t-shirts. I started with a rough cut where I removed the sleeves and collar then cut the back of the shirt off. I started with the largest design and based the size of the blocks on its width.

Some of the sleeves had designs and some of the shirts had a small logo on the front of the shirt with a large logo on the back. I cut these designs so they had about an inch of fabric around the design.

The next step was adding a stabilizer to the t-shirts. I used woven fusible interfacing because t-shirts are naturally stretchy. If they were not lined with a woven fusible interface, they would stretch and bunch, making the quilt look really bad, especially after washing it the first time.

Once I had all my blocks ready, I headed out to my dad's cabin in Westcliffe. He has a huge living room, and I love laying out quilts there. The natural sunlight is also great, so it's worth the two-hour drive to sew in a fun location. I arranged the blocks in four lines. All of the large blocks had the same width, so it was rather easy to make the lines work. I did have to shuffle the blocks quite a bit to get them all the same length and avoid putting two similar colored t-shirts next to each other. I have to say, I got really lucky because I was able to get all the lines of blocks within half an inch of each other.
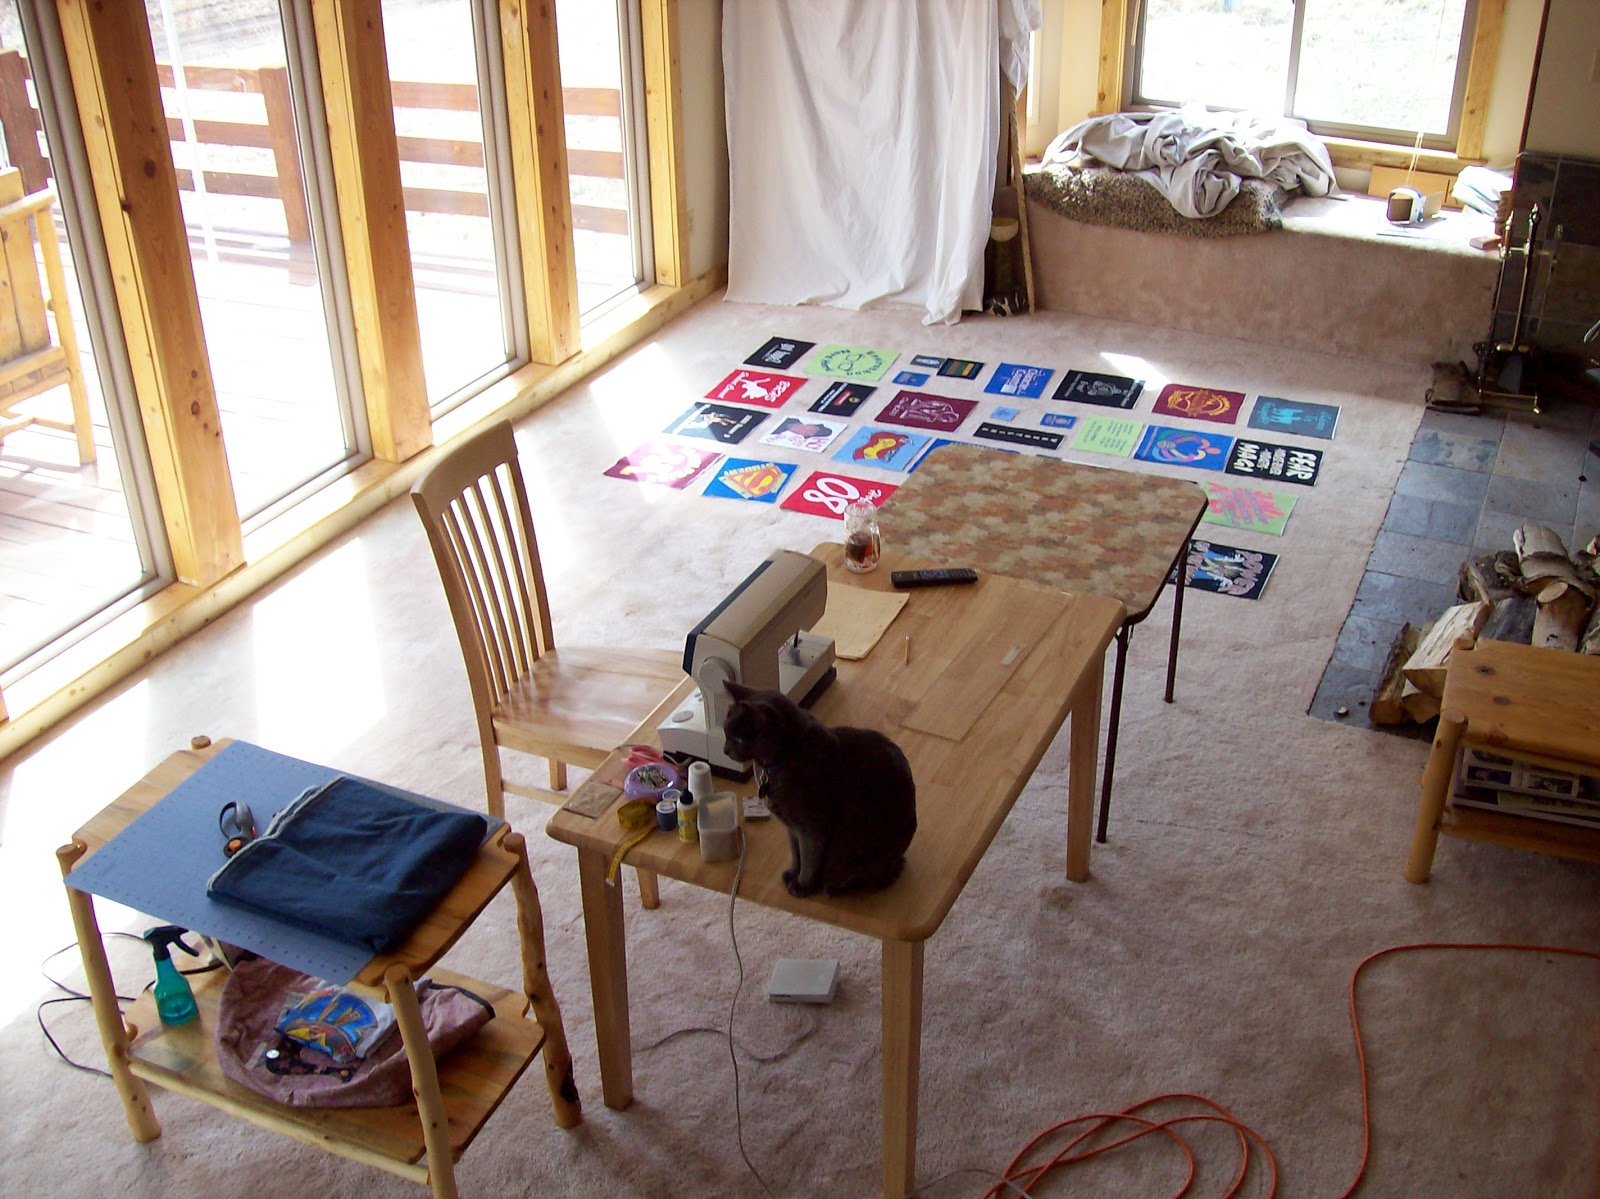
My sewing buddy Merlin made sure that I did it right. He is a great supervisor, but he does sleep on the job quite often.

I used denim to tie all the colors together, because what better to put with a t-shirt quilt than jeans material? I also found a maroon home-spun fabric to use as an accent. Since this was a high school graduation gift, the school colors of maroon and gold were also very important.

When I asked what size to make the quilt, I was told to make it whatever size worked with the t-shirts. It ended up working out as an extra long queen. I like making extra long quilts so there is pillow-tuck room. I also thought it would be nice to have an extra long quilt for this very tall, soon to be college student. He could curl up from head to toe without a problem.

I don't own a long-arm quilting machine, so machine quilting a quilt this large is problematic. I also think that the rustic fabrics mixed with the t-shirts would look better with a tied quilt. I used gold yarn as a little pop of color and a nod to his school colors. They were thrilled with the quilt, and I have to admit I was really happy with the final result.
No comments:
Post a Comment